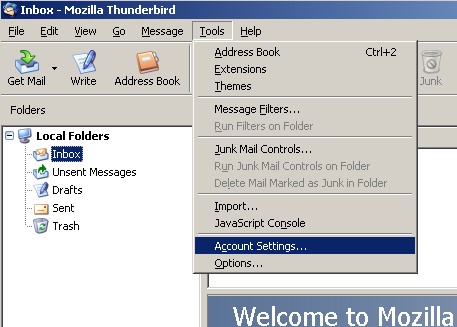
Open Mozilla Thunderbird.
Click on the 'Tools' menu and then click 'Account Settings...'.
|
Open Mozilla Thunderbird. Click on the 'Tools' menu and then click 'Account Settings...'. |
|
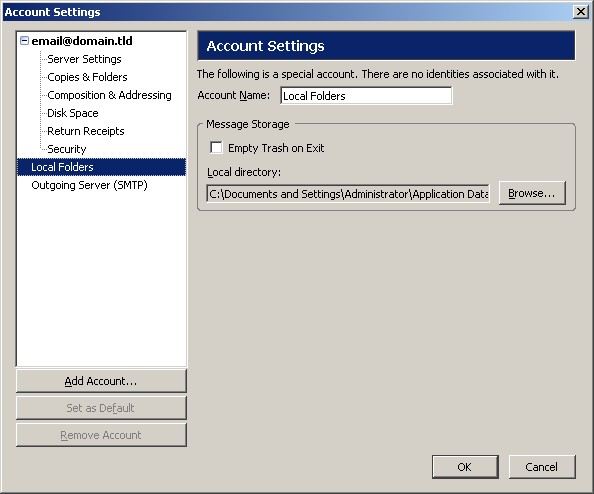
This will bring up the 'Account Settings' with the 'Local Folders' category selected. Click on the email account listed in the left hand list. |

|
Make sure you add the information below to the locations noted in the screenshot: The following are the most important:
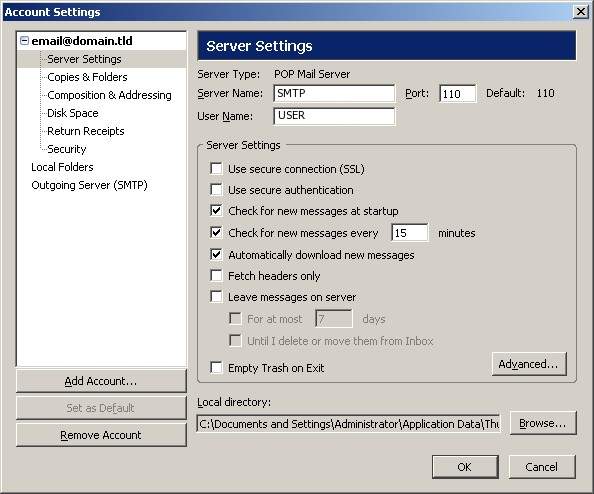
Please note: The 'Reply-to Address' is not needed because if it is not specified, the reply will go to the 'EMail Address' listed. Click on the 'Server Settings' sub-category on the left. |
|
This will show all of your server settings. Make sure you add the information below to the locations noted in the screenshot: The following are the most important:
Click on the 'Outgoing Server (SMTP)' sub-category on the left. |
|
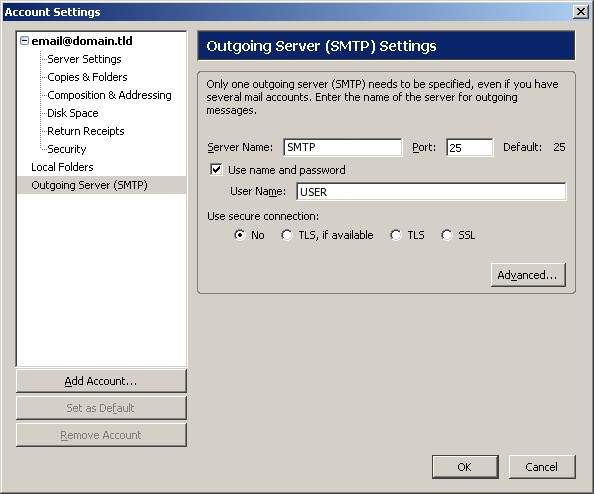
The settings for your outgoing mail server (SMTP) are shown here. Make sure you add the information below to the locations noted in the screenshot: The following are the most important:
Click 'OK' to return to the Thunderbird application and now you should be able to send and receive email. |
|
|
|